

Unlock Perfect Vapor by Mastering Your Vape Pen Button Controls

Vape Pen Button Functions at a Glance

Start with your device's instructions: Button commands vary by model. On many push-button pens, five quick clicks turn the device on or off, three clicks change the power setting, and two clicks start preheat if the pen has that feature. To take a puff, press and hold the button as you inhale, then release it before you finish. Turn the pen off before putting it in a pocket or bag.
These controls can help you manage vapor and avoid accidental firing, but the LED colors and flash patterns are not the same on every pen. Check your manual before treating a blinking light as a battery or connection warning.
I'm Max Shemesh, owner and CEO of Zaleaf. My work in cannabinoid products informs this guide to vape pen button functions; next, we'll look at what each control does and when to use it.
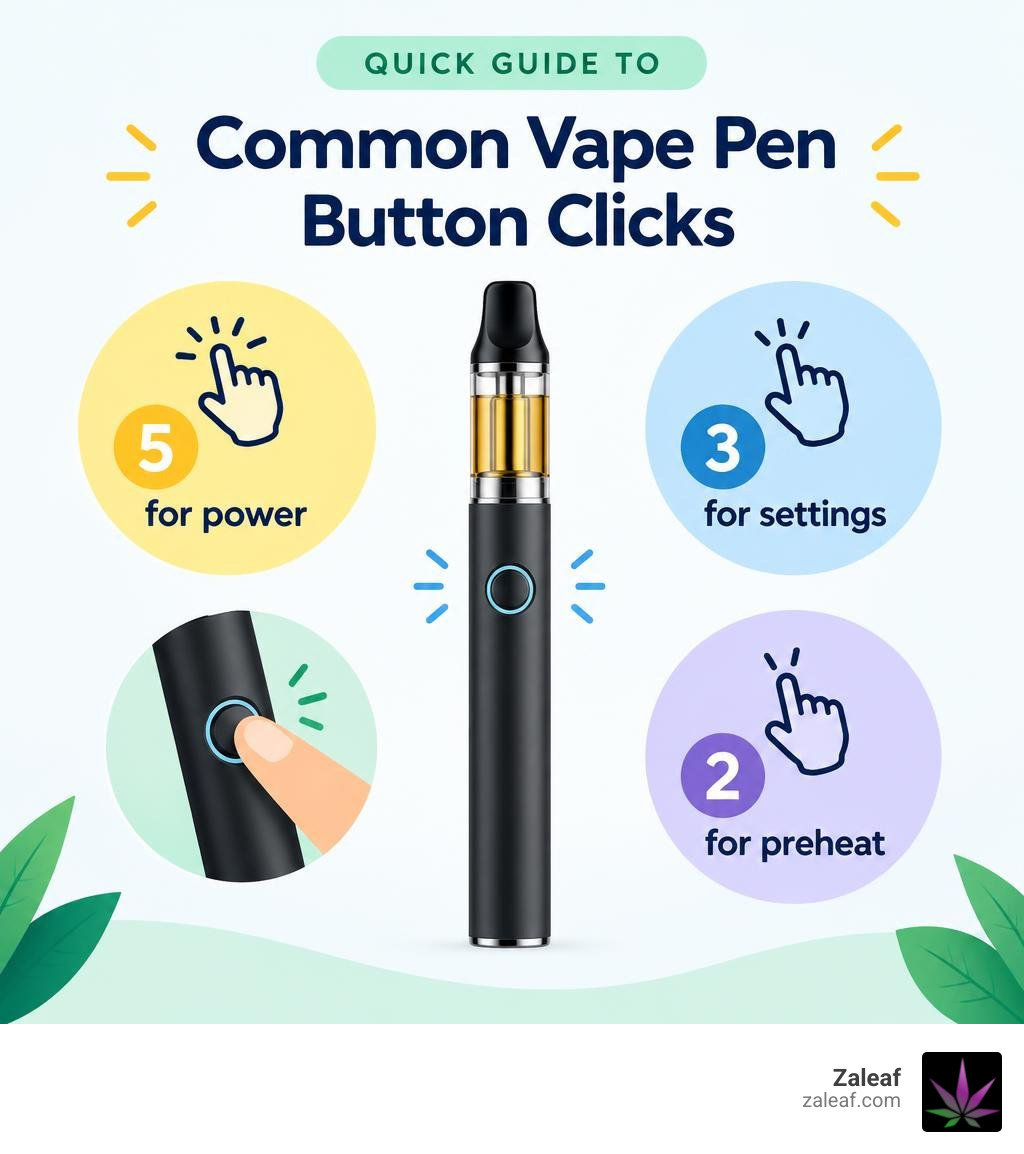
Vape pen button functions basics:
Understanding Core Vape Pen Button Functions: The Universal Click Guide
If you have ever picked up a manual pen and wondered why clicking it once did not do anything, you are not alone. Unlike draw-activated devices that turn on as soon as you inhale, button-activated pens rely on an internal microswitch. This simple mechanical switch forms an electrical circuit between the lithium-ion battery and the heating element inside your atomizer or cartridge.
To make these compact batteries easy to use without cluttering them with extra dials, manufacturers developed what the community calls the "universal click language." By pressing the single fire button in specific rapid sequences, you gain complete control over your power, temperature, and maintenance modes. Whether you are using a standard threaded battery or a modern button-activated disposable, learning these sequences is the secret to getting clean, flavorful hits every single time.
For a deeper look into device compatibility, check out our comprehensive 510 vape battery guide.
| Click Sequence | Primary Function | Typical LED Feedback | Standard Output / Result |
|---|---|---|---|
| 5 Clicks | Power Lock / Unlock | Flashes 3 to 5 times | Device powers on or locks shut |
| 3 Clicks | Cycle Voltage / Wattage | Changes color (Green/Blue/Red) | Shifts output (2.4V – 4.2V) |
| 2 Clicks | Activate Preheat Mode | Rainbow / pulsing light | Gentle 1.8V–2.0V warm-up (10-15s) |
| 1 Long Hold | Manual Firing (Vaporize) | Solid illuminated color | Active heating to coil (up to 10s) |
Powering On and Off: The 5-Click Safety Lock
The cornerstone of push-button vape operation is the 5-click rule. To turn your device on or off, press the fire button rapidly five times within roughly two seconds.
When done correctly, the integrated LED ring or indicator will flash several times to confirm that the internal circuitry is active. Repeating this exact five-press sequence puts the device back into a locked state.
This sequence is essential for daily safety. If you slip an unlocked button-activated pen into your pocket, purse, or backpack, everyday movement can easily hold the button down against keys or fabric. Known as "pocket firing," this can burn out your coil, scorch your extract, melt internal seals, or drain your battery. Getting into the habit of clicking five times before and after every session keeps your pocket safe and preserves your charge.
Adjusting Voltage: Essential Vape Pen Button Functions for Heat Control
One major advantage of manual batteries is heat customizability. Most variable-power pens allow you to cycle through output tiers by clicking the fire button three times rapidly. Each three-click sequence steps up the voltage, confirmed by a color change on the LED light.
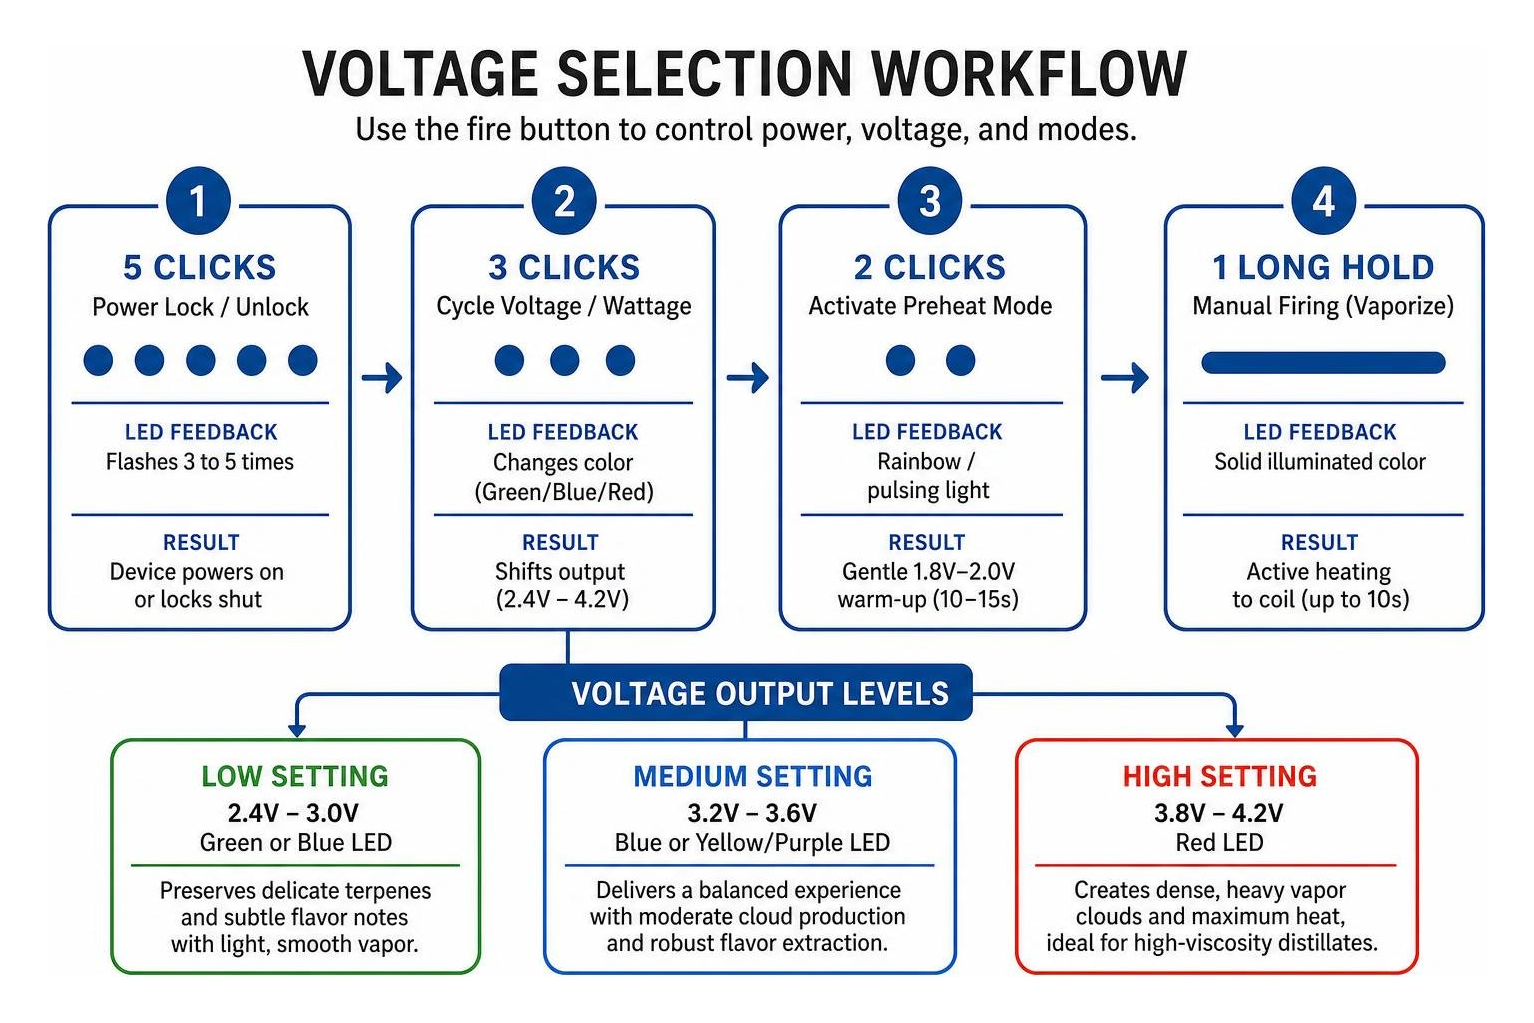
While exact color coding can vary slightly by brand, the universal standard across the industry follows this general hierarchy:
- Low Setting (2.4V – 3.0V / Green or Blue LED): Preserves delicate terpenes and subtle flavor notes while producing light, smooth vapor that is easy on the throat.
- Medium Setting (3.2V – 3.6V / Blue or Yellow/Purple LED): Delivers a balanced experience with moderate cloud production and robust flavor extraction.
- High Setting (3.8V – 4.2V / Red LED): Creates dense, heavy vapor clouds and maximum heat, ideal for high-viscosity distillates.
Finding your ideal setting is simple with a quality variable voltage vape battery. Starting low and stepping up gradually helps ensure you do not singe your wick or overpower sensitive extracts.
Unclogging and Priming: Advanced Vape Pen Button Functions for Preheating
Cold weather and thick extracts can lead to stubborn airway clogs. That is where the 2-click preheat function comes in. Pressing the fire button twice in rapid succession sends a low, continuous electrical current (typically around 1.8V to 2.0V) to the heating element for 10 to 15 seconds without requiring you to hold the button down.
During a preheat cycle, the LED light often cycles through multiple colors or pulses steadily. This gentle heat warms the oil chamber, thinning out thick extracts around the ceramic intake holes and melting condensation dams inside the central chimney.
If you are wondering whether to run this cycle before every puff, our guide on preheating your vape pen breaks down when a warm-up is necessary and when it is best skipped to preserve your battery.
Inhalation Technique: How to Hit a Button-Activated Vape Pen
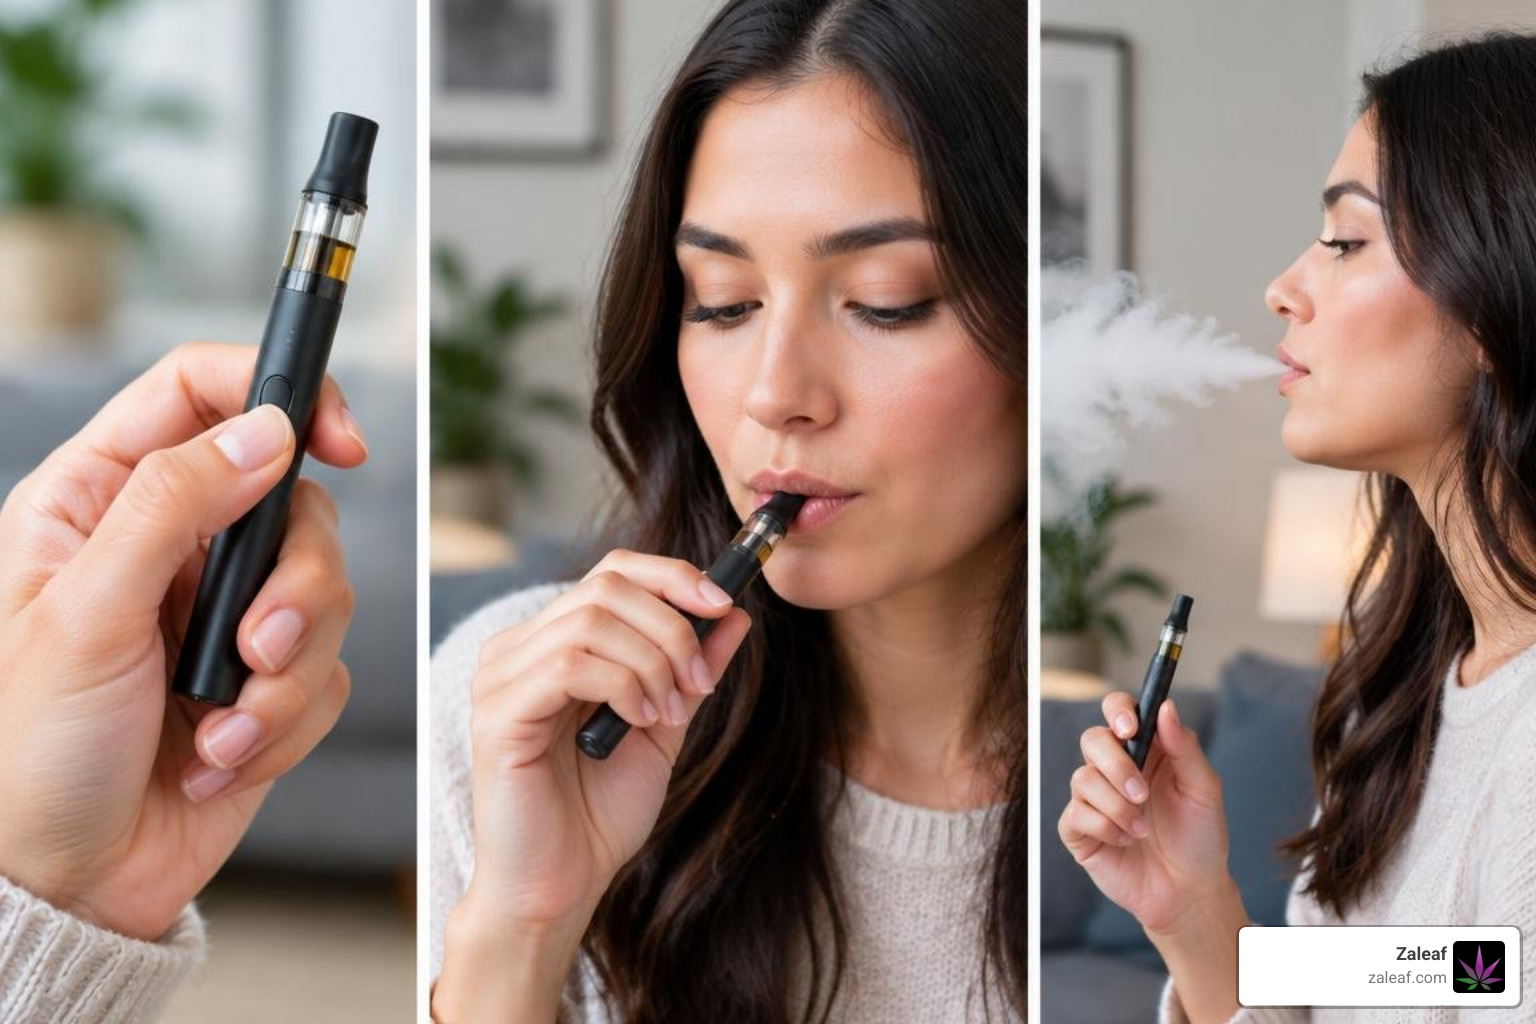
Taking a hit from a button-activated pen is all about simple coordination. Because the heating element responds instantly when the button is pressed, your draw technique directly affects vapor temperature, density, and coil lifespan.
Press-and-Inhale Timing for Smooth Draws
The most common beginner mistake is pressing the button several seconds before placing the mouthpiece to your lips. Doing this pre-cooks the oil in a stagnant chamber, creating a hot, harsh, and unpleasant initial puff.
To achieve smooth, rich vapor:
- Bring the mouthpiece to your lips first.
- Press and hold the fire button as you begin drawing air gently into your mouth or lungs.
- Keep drawing steadily while holding the button down.
- Release the button approximately half a second before you finish inhaling.
Releasing the button just before you finish drawing pulls cool air through the chamber. This clears out lingering vapor and cools down the coil, preventing residue from settling inside the chimney and causing clogs. Mastering this timing ensures you stay within the best temperature for vaping throughout your entire draw.
Safety Cutoffs and Draw Duration
Almost all modern button-activated batteries feature an automatic safety shutoff. If the fire button is pressed continuously for 8 to 10 seconds, the internal chipset cuts power to the coil, and the LED light will blink repeatedly to signal a timeout.
This safety feature protects against stuck buttons and runaway overheating. To maintain rich flavor and keep your wick thoroughly saturated, we recommend taking moderate draws lasting between 2 and 4 seconds rather than pushing the device to its maximum safety limit.
Button-Activated vs. Auto-Draw Vape Pens
Choosing between a button-operated battery and an automatic draw-activated device comes down to how much hands-on control you want over your sessions.
| Feature | Button-Activated Pens | Auto-Draw (Inhale Sensor) Pens |
|---|---|---|
| Activation Style | Physical mechanical switch | Pneumatic airflow sensor |
| Preheat Capability | Native (2-click command) | Rare / Unavailable |
| Voltage Customization | Multi-tier (3-click command) | Frequently fixed voltage |
| Thick Oil Reliability | High (preheat clears clogs) | Moderate (struggles with blocked airflow) |
| Pocket Safety | Secure 5-click electronic lock | Passive (risk of misfiring in wind/pressure) |
| Ease of Use | Brief learning curve | Instant draw-and-puff |
Comparing Manual Control and Automatic Inhale Sensors
Auto-draw batteries use a tiny internal diaphragm or pneumatic sensor that detects air movement when you inhale through the tip. While this mimics the natural feel of traditional smoking, it relies heavily on clear, unobstructed airflow.
If your cartridge develops a thick oil clog, an auto-draw sensor may fail to activate because you cannot pull enough air through the device to trigger the switch.
Button-activated pens bypass the airflow path entirely. The physical switch directly closes the circuit, giving you the power to heat the coil, run a preheat cycle, and clear blockages regardless of air resistance. Furthermore, manual control lets you start and stop heating with precision, giving you full control over every puff.
The Rise of Modern Hybrid Vape Batteries
If you love the convenience of an automatic draw but still want the power of a manual preheat, modern hybrid batteries offer the best of both worlds. These versatile devices feature both an internal airflow sensor and a physical push button.
With a hybrid device, you can use the button for quick 5-click locks, 3-click voltage adjustments, and 2-click clog-clearing preheats, while enjoying hands-free auto-draw during casual sessions. To explore different battery shapes, capacities, and styles, browse our guide to cart batteries.
Decoding LED Light Signals and Troubleshooting Errors
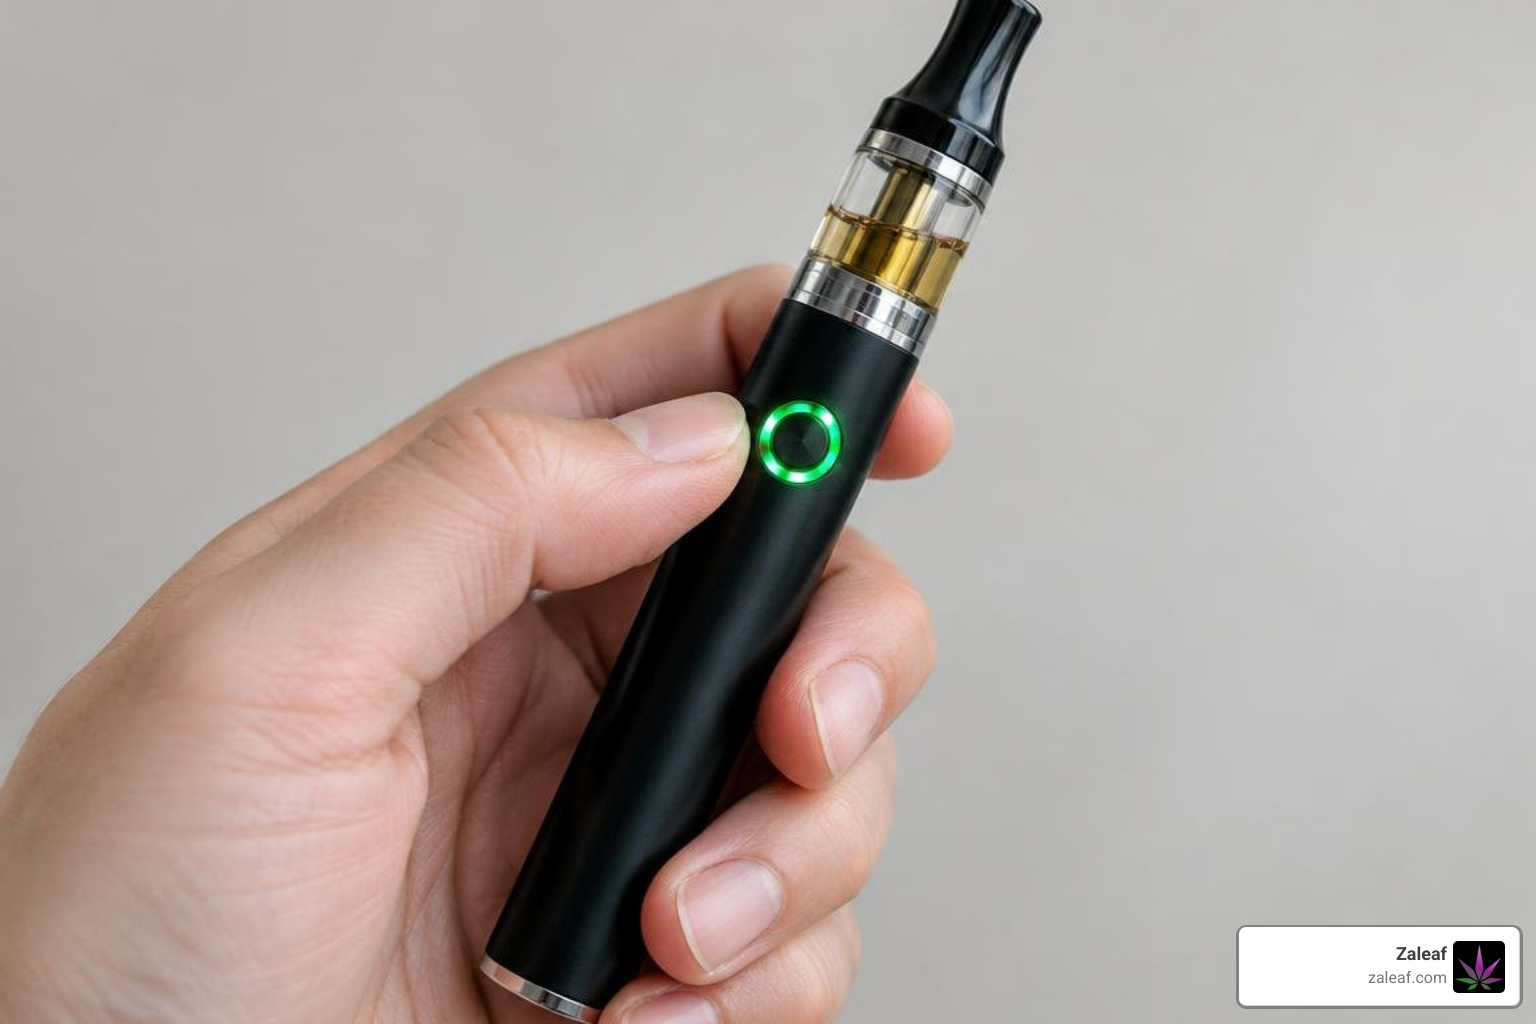
Your fire button's LED light is your device's primary diagnostic display. It tells you your remaining battery level, active voltage, and any connection issues at a glance.
Interpreting Battery Level and Voltage Colors
When you press and hold the button during normal use, the LED glows solidly to indicate active firing. On many devices, this color also reflects your remaining battery charge:
- Green: High battery life (70% – 100%).
- Blue or Yellow: Medium battery life (30% – 70%).
- Red: Low battery life (under 30%); recharge soon.
If your device uses color coding exclusively for voltage, it will typically flash red repeatedly when the cell drops below operating power. Following proper vape pen charging tips helps preserve battery life and keeps your pen ready when you need it.
Fixing Blinking Lights, Connection Issues, and Clogs
When your vape pen blinks and refuses to heat, it is communicating a specific hardware state:
- 10 to 15 Rapid Flashes (Low Voltage): The battery is fully drained. Connect it to a certified charger until the charging indicator signals a full charge.
- 3 Rapid Flashes (Connection / Short Circuit Error): The battery cannot establish a stable electrical circuit with the cartridge. This usually happens if the cartridge is screwed on too tightly, if oil residue coats the contact pin, or if the internal coil is shorted.
- 8 to 10 Second Solid Light Followed by Blinking (Overheat Cutoff): The button was pressed down too long. Allow the device to rest for 15 seconds before firing again.
- No Light When Pressed (Device Locked or Dead): Try clicking the button five times rapidly within two seconds to unlock it. If it remains unresponsive, plug it in to check if the battery has drained completely.
To resolve connection issues, unscrew the cartridge and inspect the brass 510 pin. Dip a cotton swab in a small amount of isopropyl alcohol and gently clean the threading on both the battery and the cartridge. Let it dry completely, then thread the cartridge back on until it is finger-tight—avoid over-tightening.
If you are dealing with a stubborn airflow blockage rather than an electrical fault, use our quick tips for unclogging your disposable vape pen to clear the airway without damaging your hardware.
Frequently Asked Questions About Vape Pen Button Controls
Why is my vape pen blinking when I press the button?
A blinking light usually signals one of three things: a dead battery (10+ flashes), a short circuit or dirty contact plate (typically 3 flashes), or an automatic puff timeout (flashing after an 8–10 second continuous press). Clean the threaded connection with an alcohol swab and recharge the battery to resolve most errors.
Do I need to hold the button down the entire time I inhale?
Yes. On manual push-button pens, power flows to the heating element only while the button is depressed. Press the button right as you begin your inhale, hold it down through your draw, and let go of the button a split second before you stop inhaling to clear residual vapor from the chimney.
Can I leave my button vape pen turned on in my pocket?
We strongly advise locking your pen before storing it. Leaving the device active in a pocket or bag can result in accidental firing if the button presses against other items. A quick five-click sequence shuts off the power circuit, preventing burned wicks and wasted extract.
Conclusion
Mastering push-button vape controls gives you complete command over your sessions. From the 5-click safety lock and 3-click voltage adjustments to the 2-click preheat cycle, understanding these simple inputs ensures smooth draws, rich flavor, and reliable hardware performance.
At Zaleaf, we pair premium hardware education with 100% legal cannabis products delivered directly to your door with fast shipping and discrete packaging. We specialize in enhancing cannabinoid and terpene profiles for targeted, mood-specific effects, and every product undergoes rigorous third-party lab testing for purity and potency—with no ID or medical card required.
To keep your setup performing at its best, explore our practical guide on maximizing your vape battery's life and speed.