

Beginner's Guide to New Vape Setup
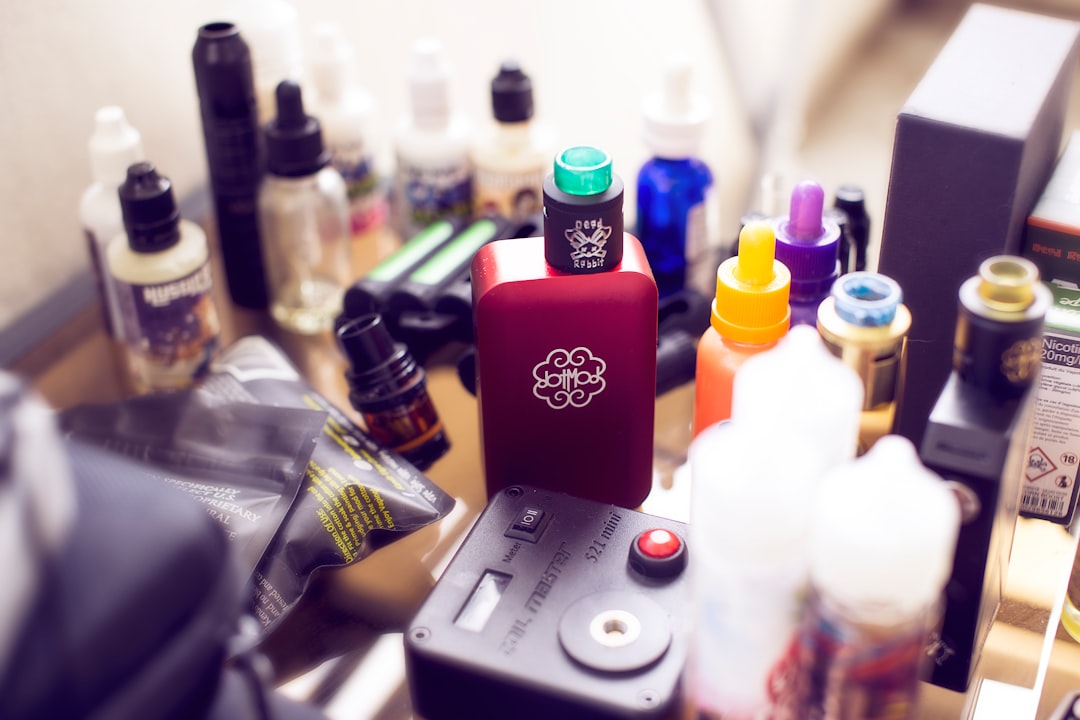
Your First New Vape Setup: What You Need to Know Before You Start

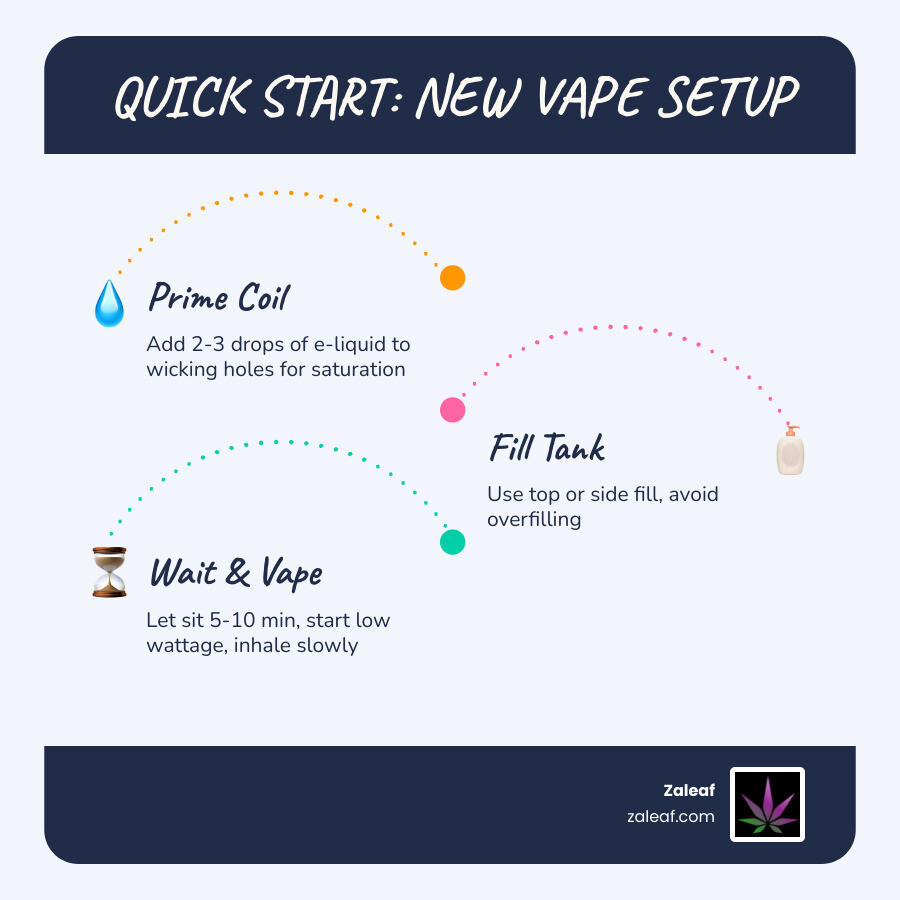
Getting your new vape setup right the first time makes a huge difference. Here's a quick overview so you can get started right away:
How to set up a new vape device (quick steps):
- Charge your device fully before first use
- Install the coil into your tank or pod
- Prime the coil by adding 2-3 drops of e-liquid to the wicking holes
- Fill your tank or pod with e-liquid
- Wait 5-10 minutes for the coil to fully saturate
- Power on and start at a low wattage setting
- Inhale slowly and adjust settings to taste
Vaping has grown fast. In 2023, 6.5% of U.S. adults used e-cigarettes — nearly double the rate from the year before. And it's not hard to see why. According to Public Health England, vaping is around 95% less harmful than smoking. For people looking for a cleaner, more controlled way to enjoy nicotine or cannabinoids, a well-configured vape is a smart starting point.
But here's the truth: most beginners make avoidable mistakes — dry hits, leaks, burnt coils — simply because no one walked them through the basics.
This guide fixes that.
I'm Max Shemesh, Owner and CEO of Zaleaf, and I've spent years in the hemp and cannabinoid industry helping people find the right products and set up their devices correctly for the best experience. I'll walk you through everything you need for a smooth new vape setup, from unboxing to your first draw.
Know your new vape setup terms:
Essential Components of Your New Vape Setup
When you unbox your first kit, it might look like a collection of random metal and glass bits. Don't panic! Every new vape setup follows a similar anatomy. Understanding these parts is the first step toward becoming a pro.
The main parts you'll encounter are:
- The Battery (or Mod): This is the "brain" and the power source. It houses the electronics and provides the energy needed to heat things up.
- The Tank or Pod: This is the reservoir that holds your e-liquid or concentrate.
- The Coil: The unsung hero. This is a small metal heating element wrapped in wicking material (usually organic cotton). It sits inside the tank/pod and turns the liquid into vapor.
- The Mouthpiece (Drip Tip): Where you actually inhale.
- The Connection: Usually a "510 thread" (a universal screw-on type) or a magnetic snap-in system for pods.

The battery isn't just a "battery." In high-performance vaping, we often call them "mods." For a deeper dive into the tech, check out our guide on Demystifying Vape Batteries Understanding The Differences.
Understanding Different Device Types
Not all vapes are created equal. Depending on your lifestyle, you’ll likely choose one of these three:
- Pod Systems: These are the most popular for beginners in May 2026. They are small, often "draw-activated" (no buttons), and use plastic pods instead of glass tanks. Some are "closed" (pre-filled), while others are "open" (refillable).
- Vape Pens: Slim, cylindrical devices that are a step up from disposables. They usually have one button and a refillable tank.
- Box Mods: These are for the "enthusiasts." They are larger, hold more battery power (sometimes using external 18650 batteries), and allow you to adjust every setting from wattage to temperature.
To find the right fit for your pocket, take a look at our breakdown of Different Vape Battery Types.
MTL vs. DTL: Choosing Your Inhalation Style
This is the most important question for your new vape setup: How do you want to inhale?
- MTL (Mouth-to-Lung): This mimics the feel of a traditional cigarette. You draw the vapor into your mouth first, hold it for a split second, and then inhale into your lungs. It uses higher-resistance coils (above 1.0 Ohm) and higher nicotine strengths.
- DTL (Direct-to-Lung): This is more like using a shisha pipe or a large bong. You inhale the vapor directly into your lungs in one big breath. This creates massive clouds and is usually done with "sub-ohm" coils (below 1.0 Ohm) and lower nicotine levels.
For those leaning toward the cloud-chasing side, we recommend reading up on Essential Equipment For DTL Vaping Beginners .
Step-by-Step Guide to Assembling Your Device
Assembly is usually straightforward, but it requires a gentle touch. If you have to force a screw, something is likely misaligned.
- Inspect the Threads: Ensure the 510 threads on your battery and tank are clean. A quick wipe with a paper towel can prevent connection issues.
- Install the Coil: If your tank uses "press-fit" coils, simply push the coil into the base of the tank until it’s flush. For screw-in coils, turn it clockwise until finger-tight.
- Attach the Tank/Pod: Screw your tank onto the battery or click your magnetic pod into place.
For those using cartridge-based systems, our A Quick Start Guide To Cartridge Battery Use is a great companion.
How to Prime Your Coil for the First Time
This is where 90% of beginners go wrong. Priming is mandatory. If you fire a dry coil, you will instantly burn the cotton, and that "burnt toast" taste will never go away.
How to prime:
- Take your new coil before putting it in the tank.
- Find the "wicking holes" (the spots where you can see white cotton through the metal).
- Drip 2–3 drops of e-liquid directly onto the exposed cotton.
- Add a drop or two into the center of the coil (be careful not to overflood it).
This ensures the heart of the coil is wet before the first hit. For more on this, see Unlock Your Vape A Beginners Guide To Cartridge Battery Use.
Filling Your Tank or Pod Correctly
Most modern tanks use a "top-fill" system. You either slide the top cap or unscrew it to reveal the filling port.
- Avoid the center chimney: Never pour liquid down the middle hole; that’s for airflow. If you get liquid in there, the vape will "gurgle" and spit juice into your mouth.
- Leave a small air gap: Don't fill it to the absolute brim. Leaving a tiny bit of air at the top helps create a vacuum seal that prevents leaking.
- The 10-Minute Rule: Even after priming, let the device sit for at least 10 minutes. This allows the liquid to fully saturate the dense cotton.
As noted in Vaping for Beginners: The Complete Guide to Getting Started (2026) , patience is the difference between a great first puff and a ruined coil.
Powering Up and Safety Precautions
Safety first! Today's batteries are powerful. By 2026, we've seen devices like the ARMOUR ULTRA packing 5500mAh batteries. That's a lot of stored energy.
- Charging: Always use the cable provided. If your device uses external batteries (like 18650s), we highly recommend using a dedicated external charger rather than the USB port on the mod.
- Surface Safety: Charge your device on a flat, hard surface. Avoid charging on beds or sofas where heat can't escape.
- Storage: Never carry loose batteries in your pocket with keys or coins. This can cause a short circuit. Use a plastic battery case!
For a full breakdown of the "do's and don'ts," visit Charging 510 Battery.
Optimizing Settings for a New Vape Setup
If your device has a screen, you likely have "Variable Wattage."
- Check the Coil: Look at the side of your coil. It will usually have a recommended range printed on it (e.g., "40–60W").
- Start Low: If the range is 40–60W, start your new vape setup at 35W. Take a few short puffs to "break in" the coil, then move up in 2W increments until you find your "sweet spot."
- Airflow Adjustment: Most tanks have a ring at the base. Closing it makes the draw tighter (MTL style); opening it makes it airier (DTL style).
If you're using a simpler stick battery, you might have "Variable Voltage" instead. Learn how to tune it here: Variable Voltage Vape Battery.
Battery Maintenance and Lifespan
A good battery should last you a year or more if treated well.
- Don't drain to zero: Li-ion batteries hate being completely empty. Try to charge when you hit 20%.
- Avoid Extreme Heat: Don't leave your vape in a hot car in July!
- Clean the Connections: Use a Q-tip with a tiny bit of rubbing alcohol to clean the threads once a week. This ensures the electrical signal is strong.
Check out our Vape Battery Lifespan Complete Guide for more longevity tips.
Troubleshooting and Common Beginner Mistakes
Even with a perfect new vape setup, things can go sideways. Here’s how to fix the "Big Three" issues:
- Leaking: This usually happens because of a loose seal or because you're using the wrong liquid. High-power DTL tanks need thicker "High VG" (70/30) liquid. If your liquid is too thin, it will run right through the coil.
- Gurgling/Spitting: This means your coil is "flooded." Flip the device upside down and shake it firmly toward the floor (outside!) to clear the excess liquid from the chimney.
- Burnt Taste: Your wattage is too high, or your coil is dry. Lower the power and wait a few minutes.
If your pen just won't draw, don't throw it against the wall. Read Dont Pull Your Hair Out Fixing Your Vape Pens Drawing Dilemma.
Final Checklist for Your New Vape Setup
Before you take that first glorious hit, run this checklist:
- [ ] Is the battery fully charged?
- [ ] Did I prime the coil?
- [ ] Has the tank sat for 10 minutes?
- [ ] Is the wattage set to the lower end of the coil's range?
- [ ] Are the air holes open?
If you're using a disposable that's acting up, we have a specific Vape Pen Rescue How To Fix Your Disposable Device guide for you.
Frequently Asked Questions about Vape Setup
How long should I wait after filling my vape?
We recommend a minimum of 10 minutes. Some thicker liquids (like THCA concentrates or high-VG juices) may require 15 minutes to fully saturate the center of the wick. If the material is very thick, warming the pod in your hands can help speed up the process.
What e-liquid ratio is best for beginners?
It depends on your device. For small pod systems (MTL), use a 50/50 PG/VG ratio. For large box mods with big clouds (DTL), use 70/30 VG/PG. If you're using cannabis concentrates, ensure the hardware is specifically rated for "thick oils."
How do I know if my vape is set up properly?
A properly set up vape should produce a smooth, flavorful vapor without any "popping," "spitting," or "burnt" flavors. The draw should feel consistent, and the device shouldn't get uncomfortably hot to the touch.
Conclusion
Setting up your first device doesn't have to be a headache. By following these steps—charging, priming, and patience—you’re ensuring that your transition to vaping is as enjoyable as possible.
At Zaleaf, we believe in quality and transparency. Whether you are looking for a new vape setup for nicotine or exploring our 100% legal, 3rd-party tested cannabis products, we are here to guide you. We specialize in mood-specific cannabinoid profiles that are federally compliant and delivered in discrete packaging right to your door. No medical card, no hassle—just high-quality sessions.
Ready to dive deeper into the tech? Check out our final thoughts on Demystifying Vape Batteries Understanding The Differences to ensure you're always getting the best performance out of your gear. Happy vaping!