

The Newbie Maintenance Guide: How to Clean Your Vape Tank
Why Tank Cleaning Is Essential When Switching Vape Flavours
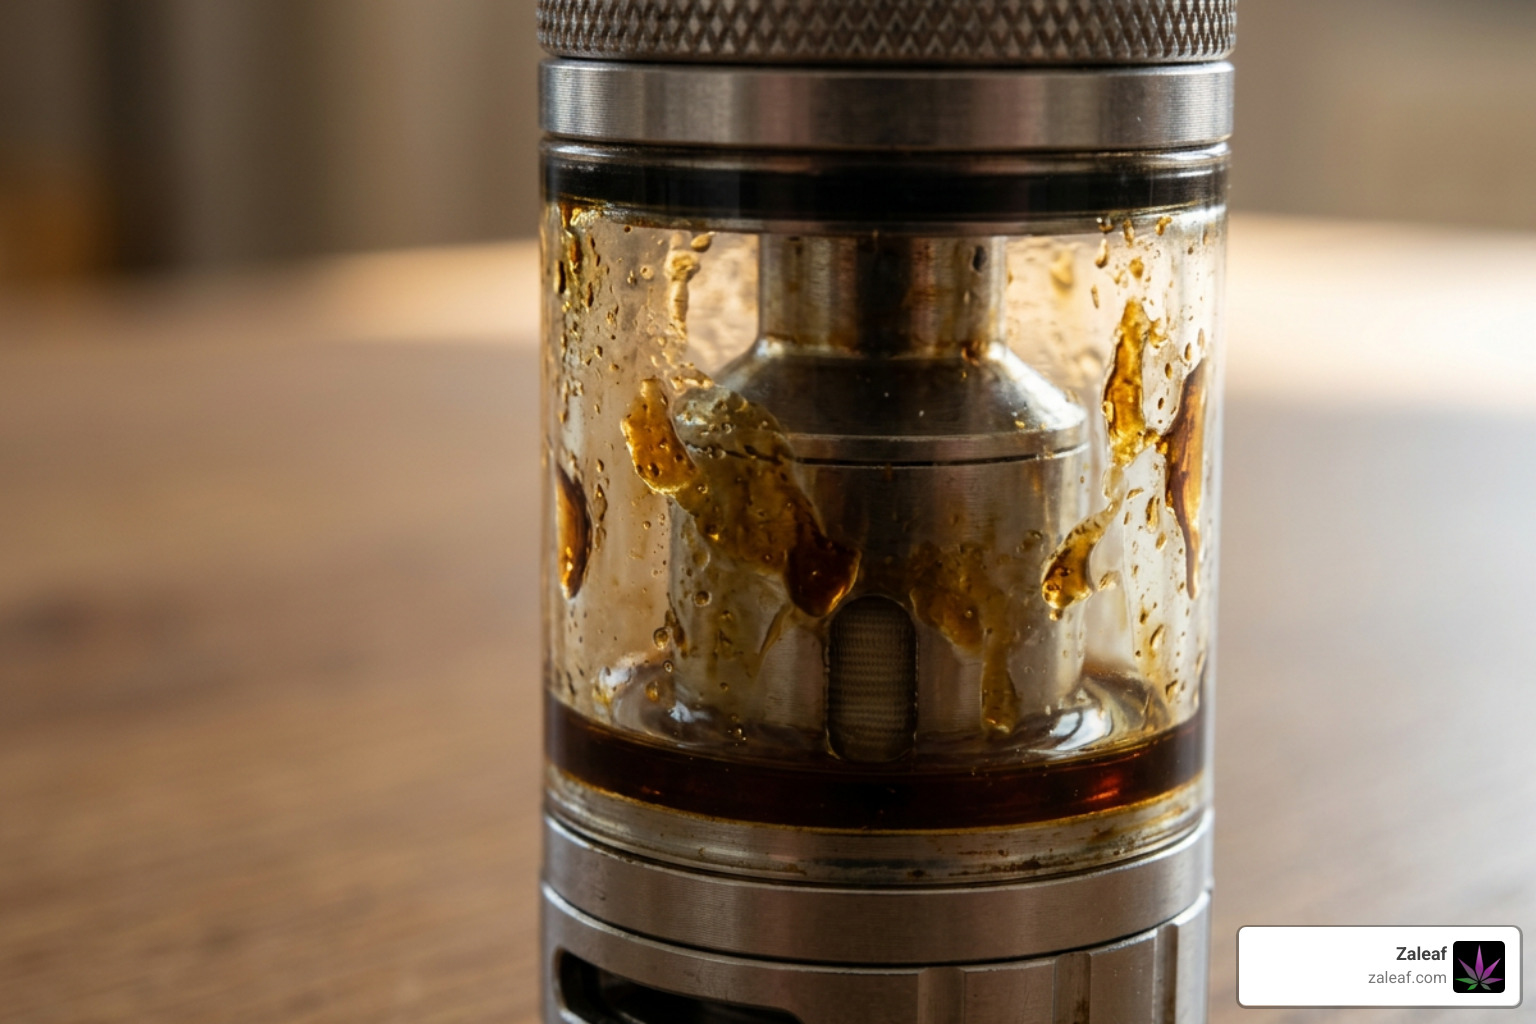
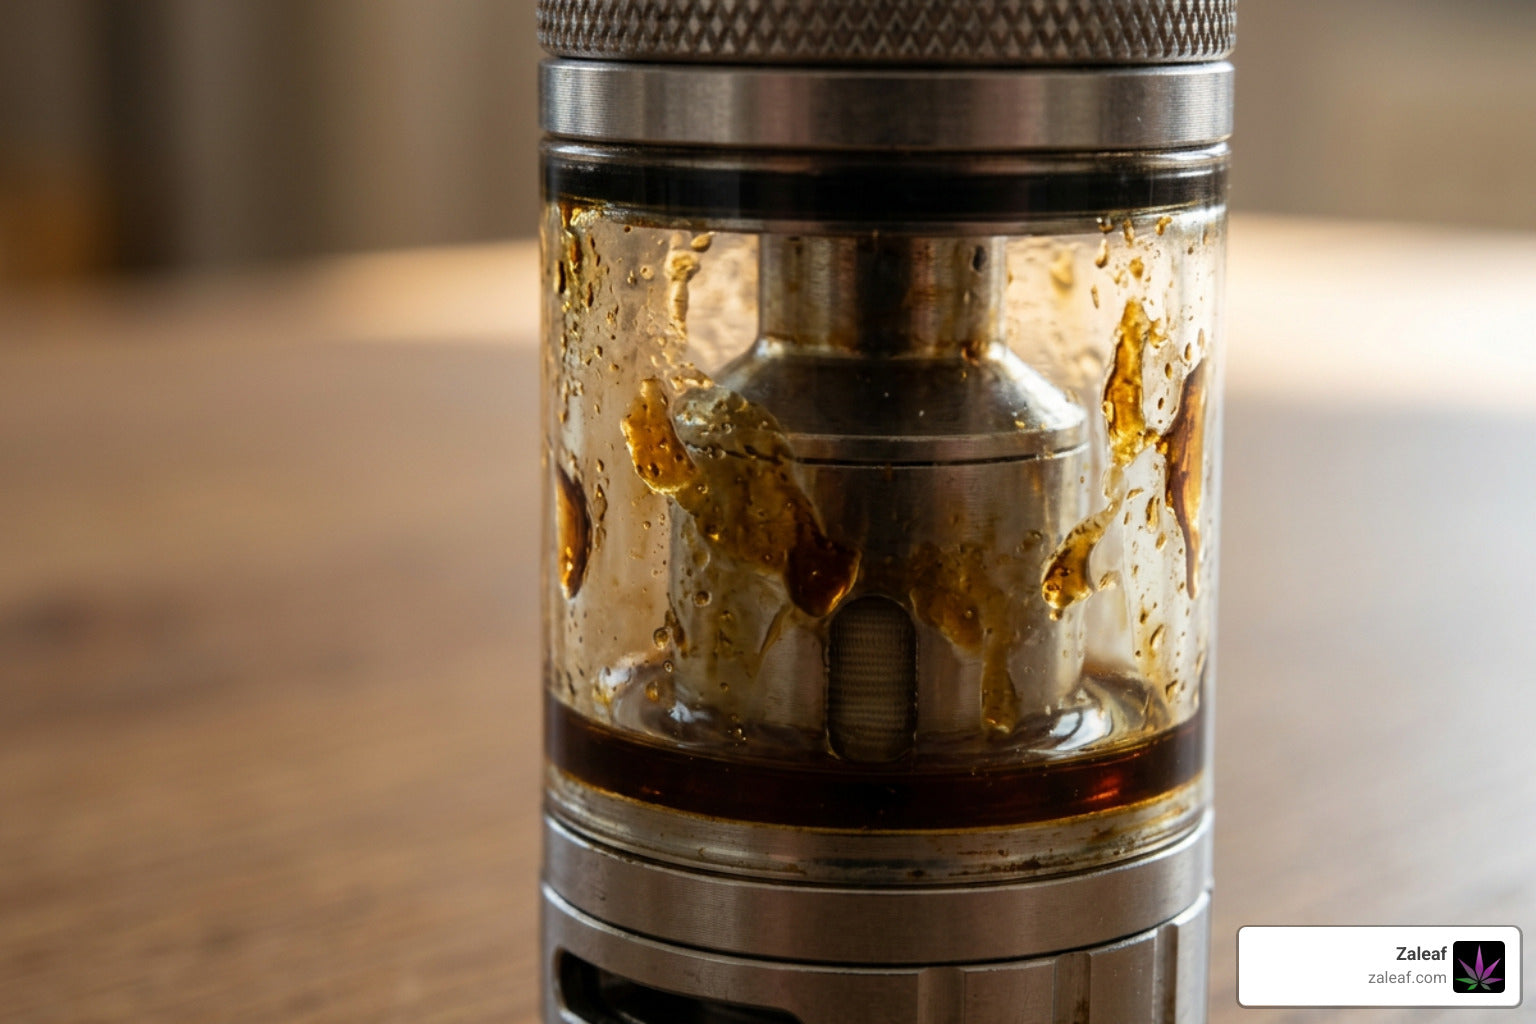
When you unbox a fresh vape device or fill a brand-new reservoir, every single draw hits your palate with absolute clarity. Fast-forward a few weeks, and you might notice that pouring a crisp, sun-ripened strawberry oil into your reservoir still carries a weirdly heavy aftertaste of last week’s peppermint or rich cinnamon toast. That frustrating crossover is precisely why understanding how to clean vape tank for new flavour is a fundamental skill for every vaper.
Vape liquids, botanical extracts, and terpene blends contain delicate aromatic compounds suspended in carriers like vegetable glycerin (VG) and propylene glycol (PG). Over time, heat causes these liquids to vaporize, but lingering microscopic droplets cling to the glass reservoir, chimney walls, silicone seals, and airflow control slots. If you simply top up a half-empty reservoir with a totally different recipe, those lingering droplets continuously dissolve into your fresh batch, ruining your taste experience.
Preventing Flavour Ghosting and Blended Tastes
Flavour ghosting occurs when lingering molecular compounds from a previous juice profile bleed into your new refill. While accidentally mixing two complementary fruit blends can occasionally yield a pleasant surprise, mixing incompatible profiles—such as menthol with rich dessert custard, or dark coffee with subtle botanical notes—usually results in a muddled, unappealing taste.
Menthol, peppermint, dark tobacco, cinnamon, and heavy dessert formulations are infamous for their stubbornness. Their aromatic molecules bind aggressively to metal chimneys and rubber O-rings. If you want to explore The Ultimate List of Vape Flavors for Every Taste without leftover aftertastes ruin your experience, taking a few minutes to clean away old residue is the only guaranteed way to keep each puff pure.
Protecting Coils and Preventing Dry Hits
Beyond preserving taste purity, routine cleaning directly protects your hardware investment. When vape liquid sits inside an unmaintained reservoir, natural heat cycles and air exposure slowly oxidize the juice, creating a thick, dark, sticky sludge. This sludge bakes onto the internal heating element and cotton wicking channels.

- Extended Hardware Life: A quick two-minute rinse every time you swap liquids can add up to an extra week of functional lifespan to your coil.
- Cost Savings: Commercial coils typically last 1 to 3 weeks depending on wattage and juice sweetness. Doubling their lifespan significantly reduces maintenance costs.
- Smooth Airflow & Leak Prevention: Rinsing clears out sticky residue around threading and airflow inlets, preventing vacuum loss, spitback, gurgling, and annoying bottom leaks.
How to Clean Vape Tank for New Flavour: 5 Simple Steps
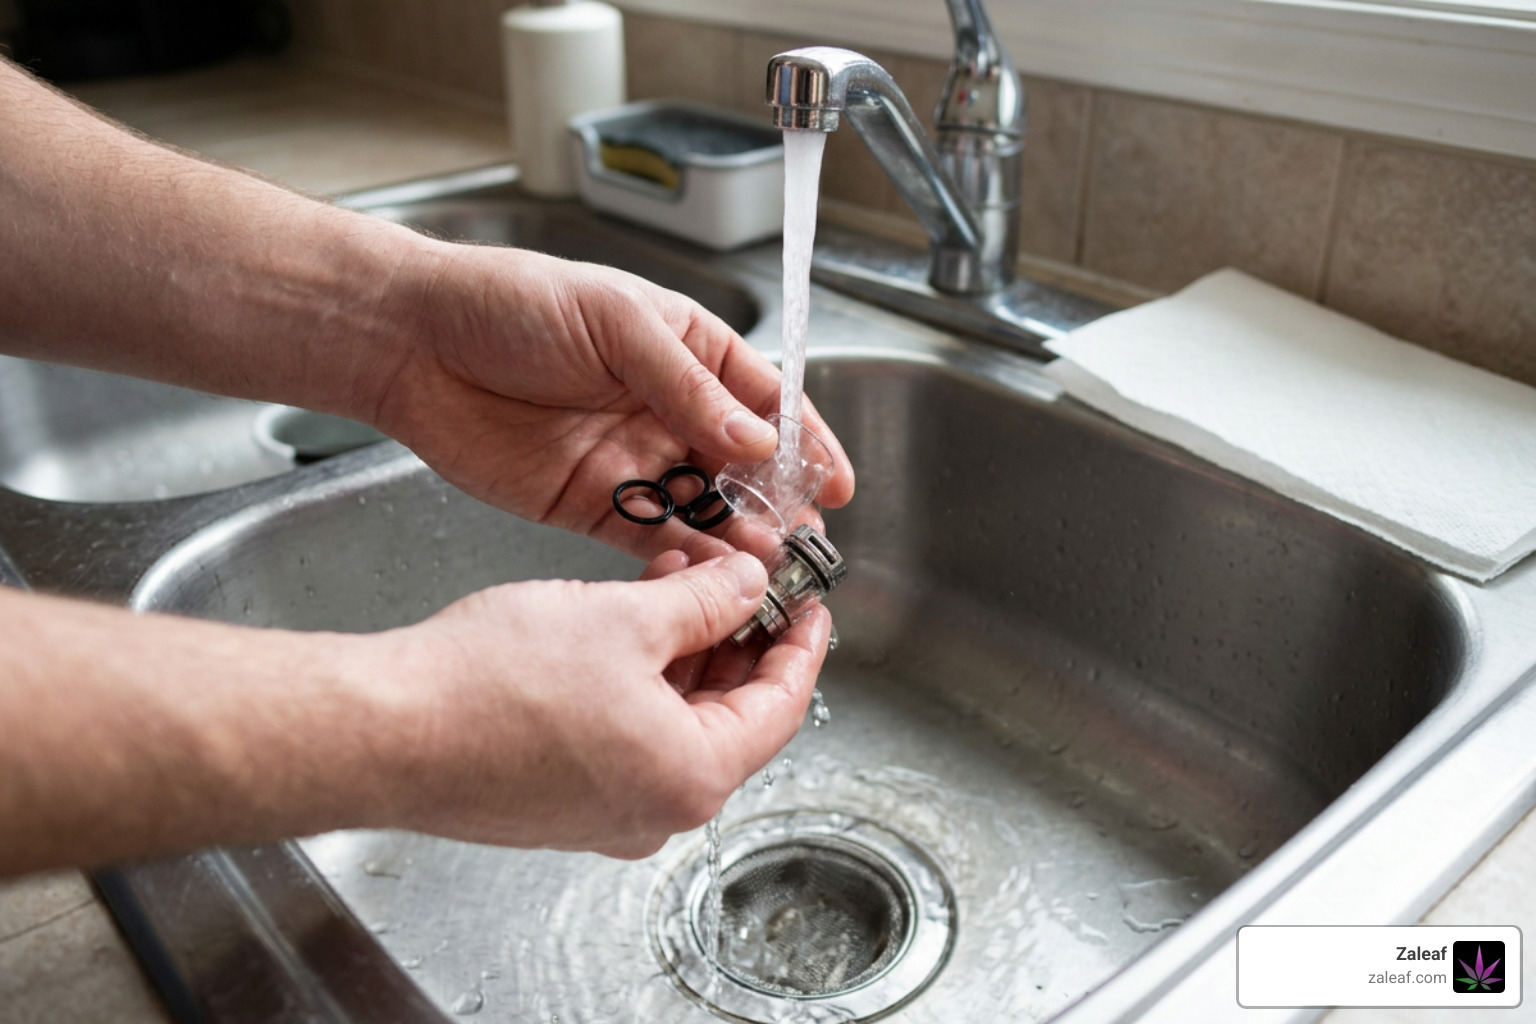
Mastering how to clean vape tank for new flavour does not require specialized lab gear or expensive cleaning kits. You can achieve crystal-clear results right at your kitchen sink using basic household supplies.
Before starting, gather your basic maintenance supplies:
- Warm running tap water (never boiling)
- Clean paper towels or a soft microfibre cloth
- Cotton swabs (Q-tips) for tight crevices
- Unscented dish soap or clear high-proof spirit (for deep cleans)
- A small bowl for soaking components
Quick Warm Water Method: How to Clean Vape Tank for New Flavour
If you are switching between similar profiles—such as moving from blue raspberry to watermelon—a quick warm water wash takes under five minutes and works wonders.
- Power Down & Detach: Always turn off your battery mod completely. Unscrew the entire tank assembly from the 510 threading base to separate electrical parts from moisture.
- Empty Excess Liquid: Pour lingering liquid into a trash receptacle or tissue. Avoid dumping thick oils down the sink drain.
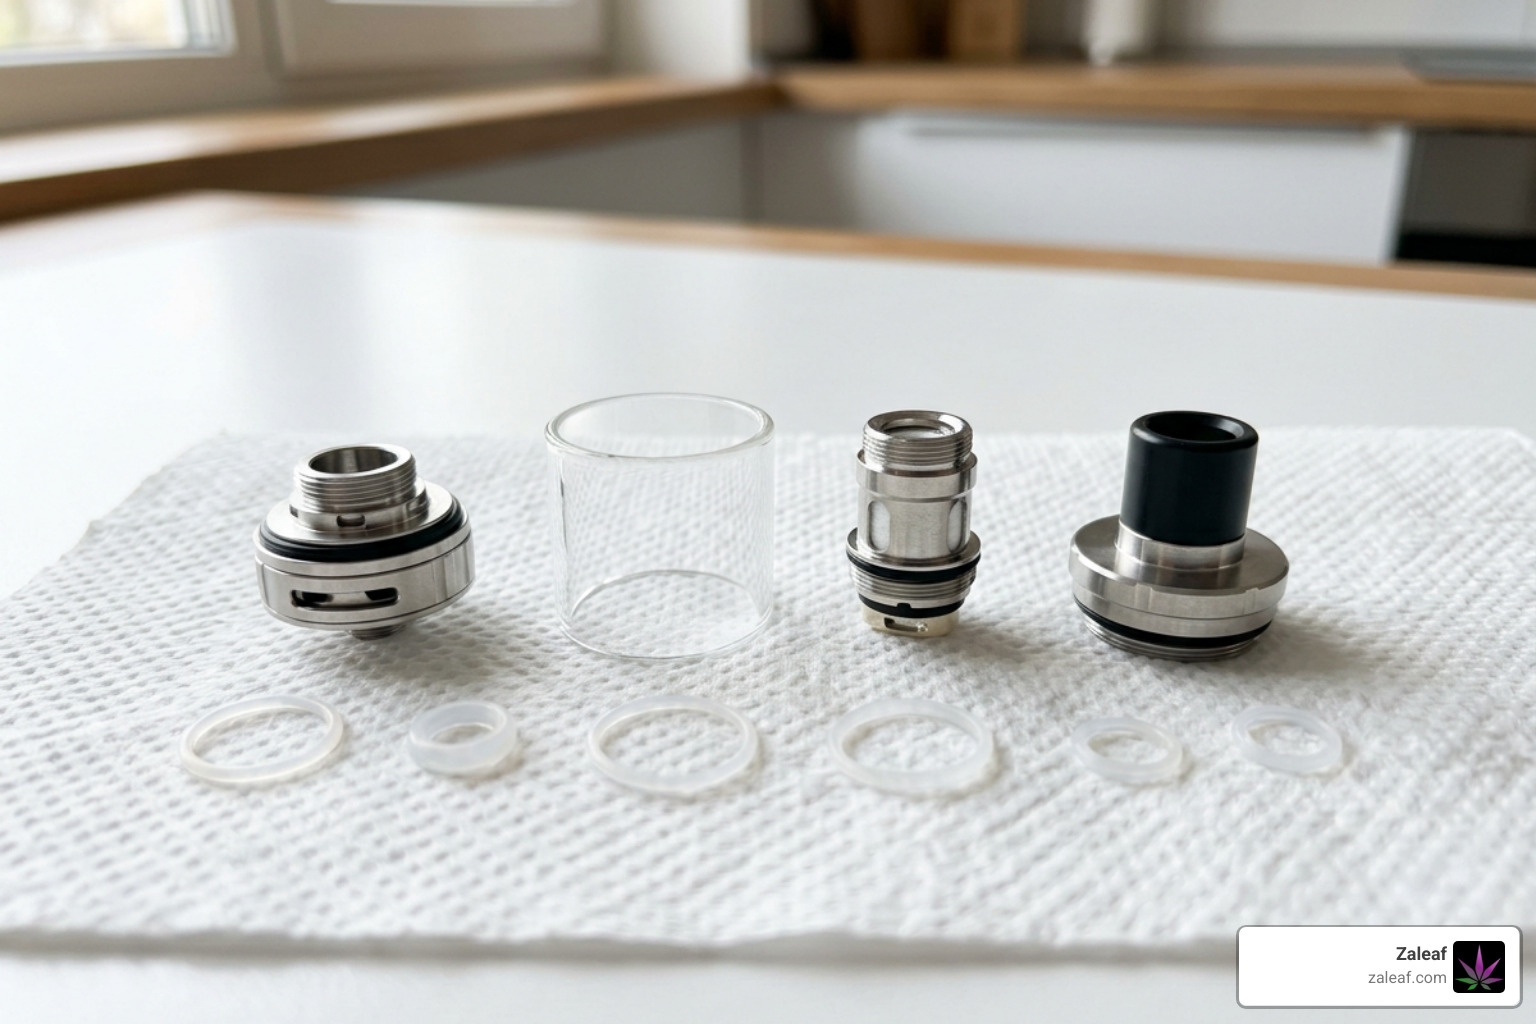
- Disassemble the Assembly: Unscrew the top fill cap, slide off the glass chamber, and pull out the removable drip tip (mouthpiece). Unscrew the heating coil from the base and set the coil aside in a dry spot—do not wash the coil with water.
- Warm Water Flush: Hold the glass, metal chimney, top cap, and base under warm running water for 30 to 60 seconds. Rotate each piece to let water flush through the chimney tube and airflow slits.
- Wipe & Shake: Gently shake off excess water droplets, then wipe all parts thoroughly with a dry paper towel or microfibre cloth.
Deep Cleaning Techniques: How to Clean Vape Tank for New Flavour
When dealing with severe ghosting from stubborn menthol, rich coffee, or heavy terpene profiles, warm water alone may not break down all caramelized oils. You will need a natural solvent to dissolve sticky residue.
- The Unscented Dish Soap Bath: Submerge non-electrical metal and glass parts in a bowl of warm water with two drops of mild, unscented dish soap. Scrub stubborn corners gently with a soft-bristled toothbrush or cotton swab, then rinse thoroughly with clean water until zero soapy film remains.
- The Clear Alcohol Bath: Submerge glass and stainless steel hardware in high-proof, unflavoured vodka or 90%+ isopropyl alcohol for 30 to 60 minutes. Alcohol rapidly dissolves stubborn flavor molecules and dark sludge without leaving soapy tastes behind. Note: Remove rubber O-rings before prolonged alcohol baths to prevent rubber degradation.
- Cleaning 510 Threading: Moisture and dark oil condensation frequently accumulate in screw threads and pin connections. Take a cotton swab lightly dampened with isopropyl alcohol and scrub the threading lines. For detailed guidance on thread care, check our guide on How to Clean Threads.
Proper Drying and Reassembly Protocol
Reassembling a reservoir while moisture is still trapped inside is a common beginner mistake. Water mixed into fresh vape juice dilutes the formula, causes unpleasant popping, and leads to hot spitback on your first draw.
Allow all washed components to drip-dry on a fresh paper towel for 15 to 60 minutes. To speed up the drying process:
- Roll paper towel corners into tight points to absorb trapped water droplets inside narrow air pathways.
- Use dry cotton swabs to sweep inside the chimney tube and base threading.
- Inspect rubber O-rings for flattening, tears, or misalignment before screwing components back together. Hand-tighten parts firmly without overtightening, which can crush rubber seals.
Coil Maintenance: Replacing vs. Rinsing Your Coil
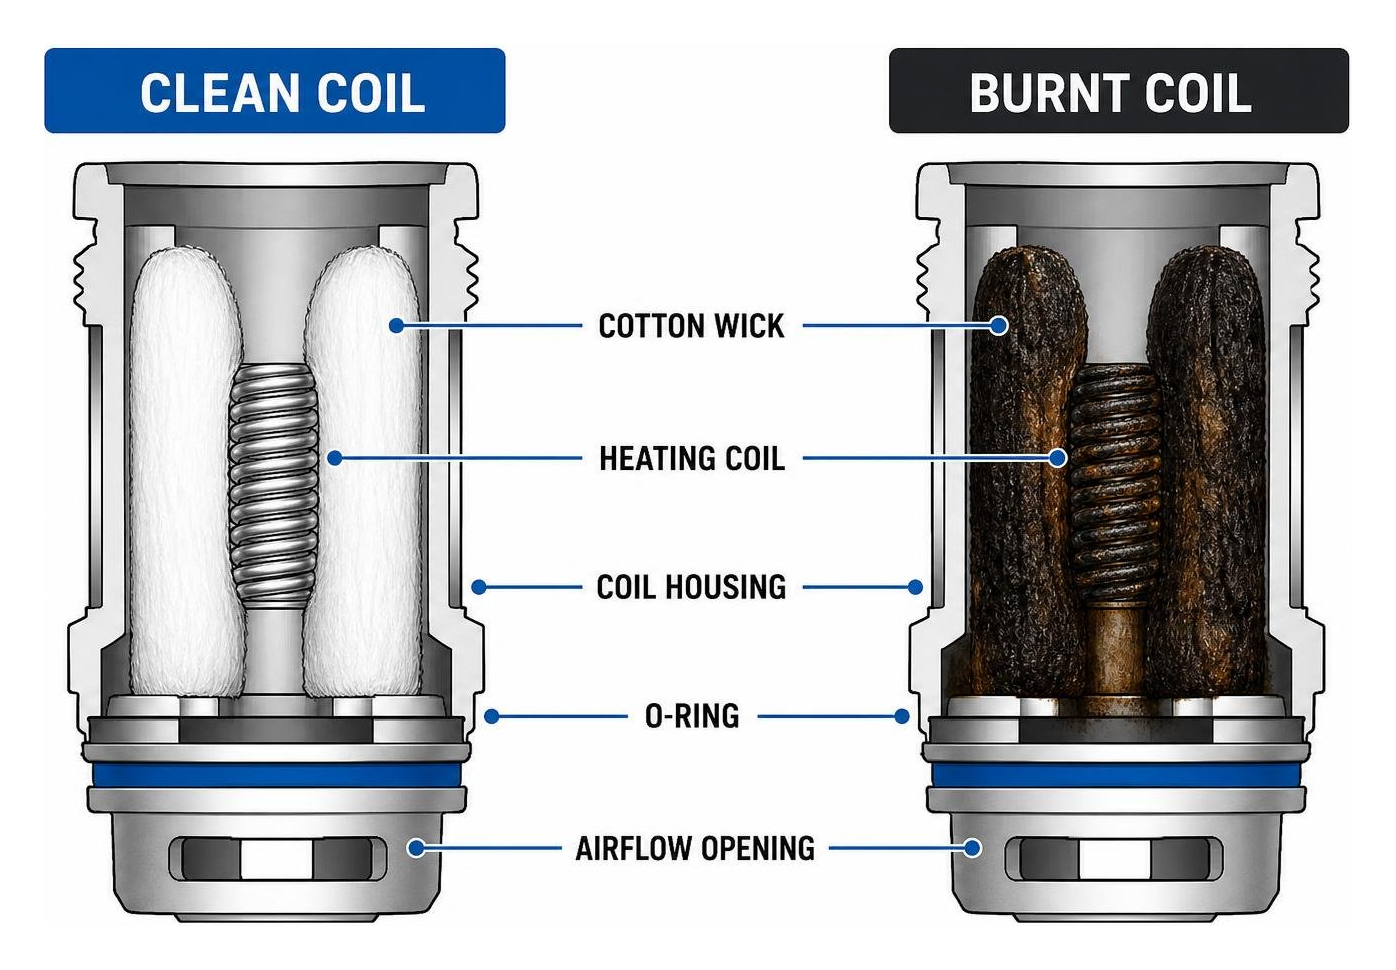
A spotless glass reservoir will not fix bad taste if your heating coil is caked in dark, burnt residue. Understanding the boundary between tank hardware and delicate wicking cotton is vital when learning how to clean vape tank for new flavour.
Should You Wash Your Vape Coil?
The short answer is no, you should not wash factory pre-built coils with tap water.
Modern commercial coils rely on dense, highly absorbent organic cotton wicks tightly packed around heating wires or mesh strips. Tap water contains minerals that deposit onto the delicate wire when heated. More importantly, once factory cotton gets fully soaked with water, it loses its natural wicking elasticity and structural tension.
When you reinstall a water-washed coil and pour in thick vape juice, the water trapped inside the cotton impedes proper juice absorption. This leads to severe spitting, muted flavor output, and instantaneous burnt dry hits. While soaking atomizers in high-proof grain alcohol and drying them overnight on a heater can occasionally revive a lightly used wick, replacing an old coil is always the best choice for pure flavor. For a deep dive into coil construction and hardware mechanics, explore our Vape Cartridges Ultimate Guide 2026.
Managing Coils for Drastically Different Flavour Profiles
When making a major profile transition—such as switching from a heavy dessert or tobacco to a light, delicate fruity blend—installing a fresh coil is strongly recommended. The absorbent cotton inside a used coil retains old liquid molecules deeply inside its core.
If your current coil is still relatively fresh and you do not wish to throw it away, try using dedicated coils for distinct profile families:
- Keep one coil for mint, menthol, and icy blends.
- Keep a second coil for sweet fruits and citrus recipes.
- Keep a third coil for rich desserts, creams, and coffees.
You can store off-duty, partially used coils in small sealed plastic bags labeled with their specific profile group. When you want to switch back to menthol, simply prime and reinstall your dedicated menthol coil into your freshly washed hardware! If you're looking for new options to try, check out The Amazing Vape Flavours You Need to Try Today.
Common Vape Tank Cleaning Mistakes to Avoid
Avoiding common maintenance pitfalls saves time and prevents hardware damage:
The table below contrasts quick maintenance rinses with deep cleaning methods so you can choose the right routine:
| Cleaning Method | Best Used For | Required Materials | Drying Time |
|---|---|---|---|
| Quick Warm Water Rinse | Daily maintenance; switching between similar fruit profiles. | Warm tap water, paper towels, cotton swabs. | 15–20 Minutes |
| Dish Soap & Warm Soak | Light sludge accumulation; removing moderate sweetness build-up. | Warm water, mild unscented dish soap, toothbrush. | 30–40 Minutes |
| Alcohol Deep Soak | Persistent flavor ghosting (menthol, coffee, dark desserts); complete teardowns. | High-proof vodka or 90%+ isopropyl alcohol, water rinse. | 45–60 Minutes |
| Ultrasonic Cleaner Bath | Heavy collector setups; deep microscopic cleaning without manual scrubbing. | Ultrasonic water basin, plain warm water. | 15–30 Minutes |
Key mistakes to avoid during maintenance:
- Using Harsh Chemical Cleaners: Never use bleach, window cleaner, or harsh detergents. Residues emit toxic fumes when heated and destroy rubber seals.
- Boiling Plastic or Acrylic Parts: Submerging plastic chambers, pods, or rubber gaskets in boiling water will warp or melt them, causing permanent leaks.
- Reassembling Hardware While Wet: Trapped water dilutes your liquid, causes spitting, and can seep into connection points, causing electrical shorts.
- Overtightening Metal Threads: Threading components too tightly can stretch or pinch O-rings and lock metal parts together permanently.
Frequently Asked Questions About Cleaning Vape Tanks
Can I use rubbing alcohol or dish soap to clean my vape tank?
Yes, but with caveats. Mild, unscented dish soap works great for removing greasy residue when dissolved in warm water. Isopropyl alcohol (90%+) or unflavoured vodka is ideal for dissolving stubborn menthol and dark coffee oils from stainless steel and glass. Always remove rubber O-rings prior to long alcohol soaks, and flush all hardware thoroughly under warm tap water afterward so no soap or alcohol taste remains.
How long should I let my vape tank dry before refilling with a new flavour?
Let all non-electronic components air-dry on a paper towel for 15 to 60 minutes. Use cotton swabs to remove moisture pockets from airflow channels and 510 thread lines before refilling.
How often should I clean my vape tank when switching flavours?
Give your reservoir a quick warm water rinse every time you switch profiles. Perform a thorough deep clean once a week if you vape daily, or whenever you notice dark sludge, muted taste, or stubborn flavor ghosting.
Conclusion
Mastering how to clean vape tank for new flavour is one of the easiest ways to ensure every draw delivers clean, uncompromised taste. Taking just a few minutes to disassemble your device, rinse away old oil residue, and dry all non-electronic parts preserves your hardware, extends coil lifespan, and prevents frustrating flavor contamination.
At Zaleaf, we specialize in high-quality, legal cannabis products crafted with care. From mood-specific cannabinoid profiles to rich terpene blends, our products undergo rigorous third-party testing to ensure consistency and satisfaction—all backed by fast, discrete shipping with no medical card required. Explore The Ultimate List of Vape Flavors for Every Taste to discover your next favorite profile today!